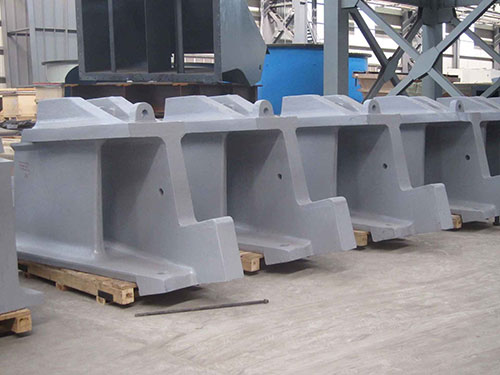
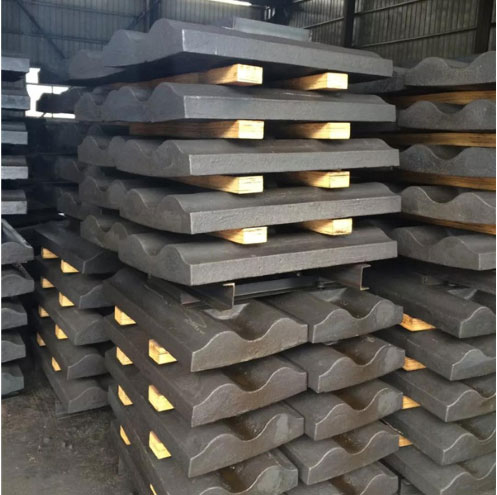
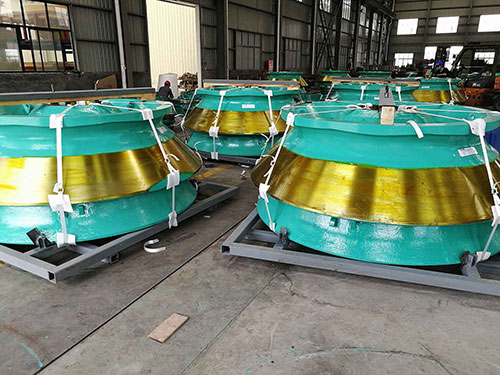
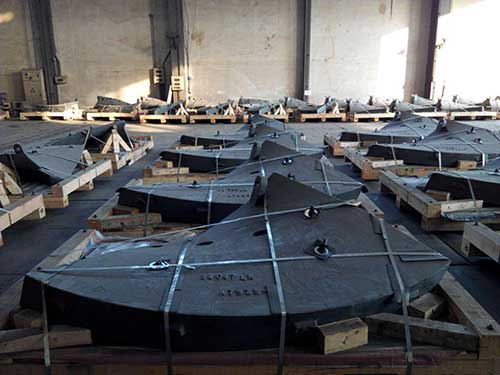
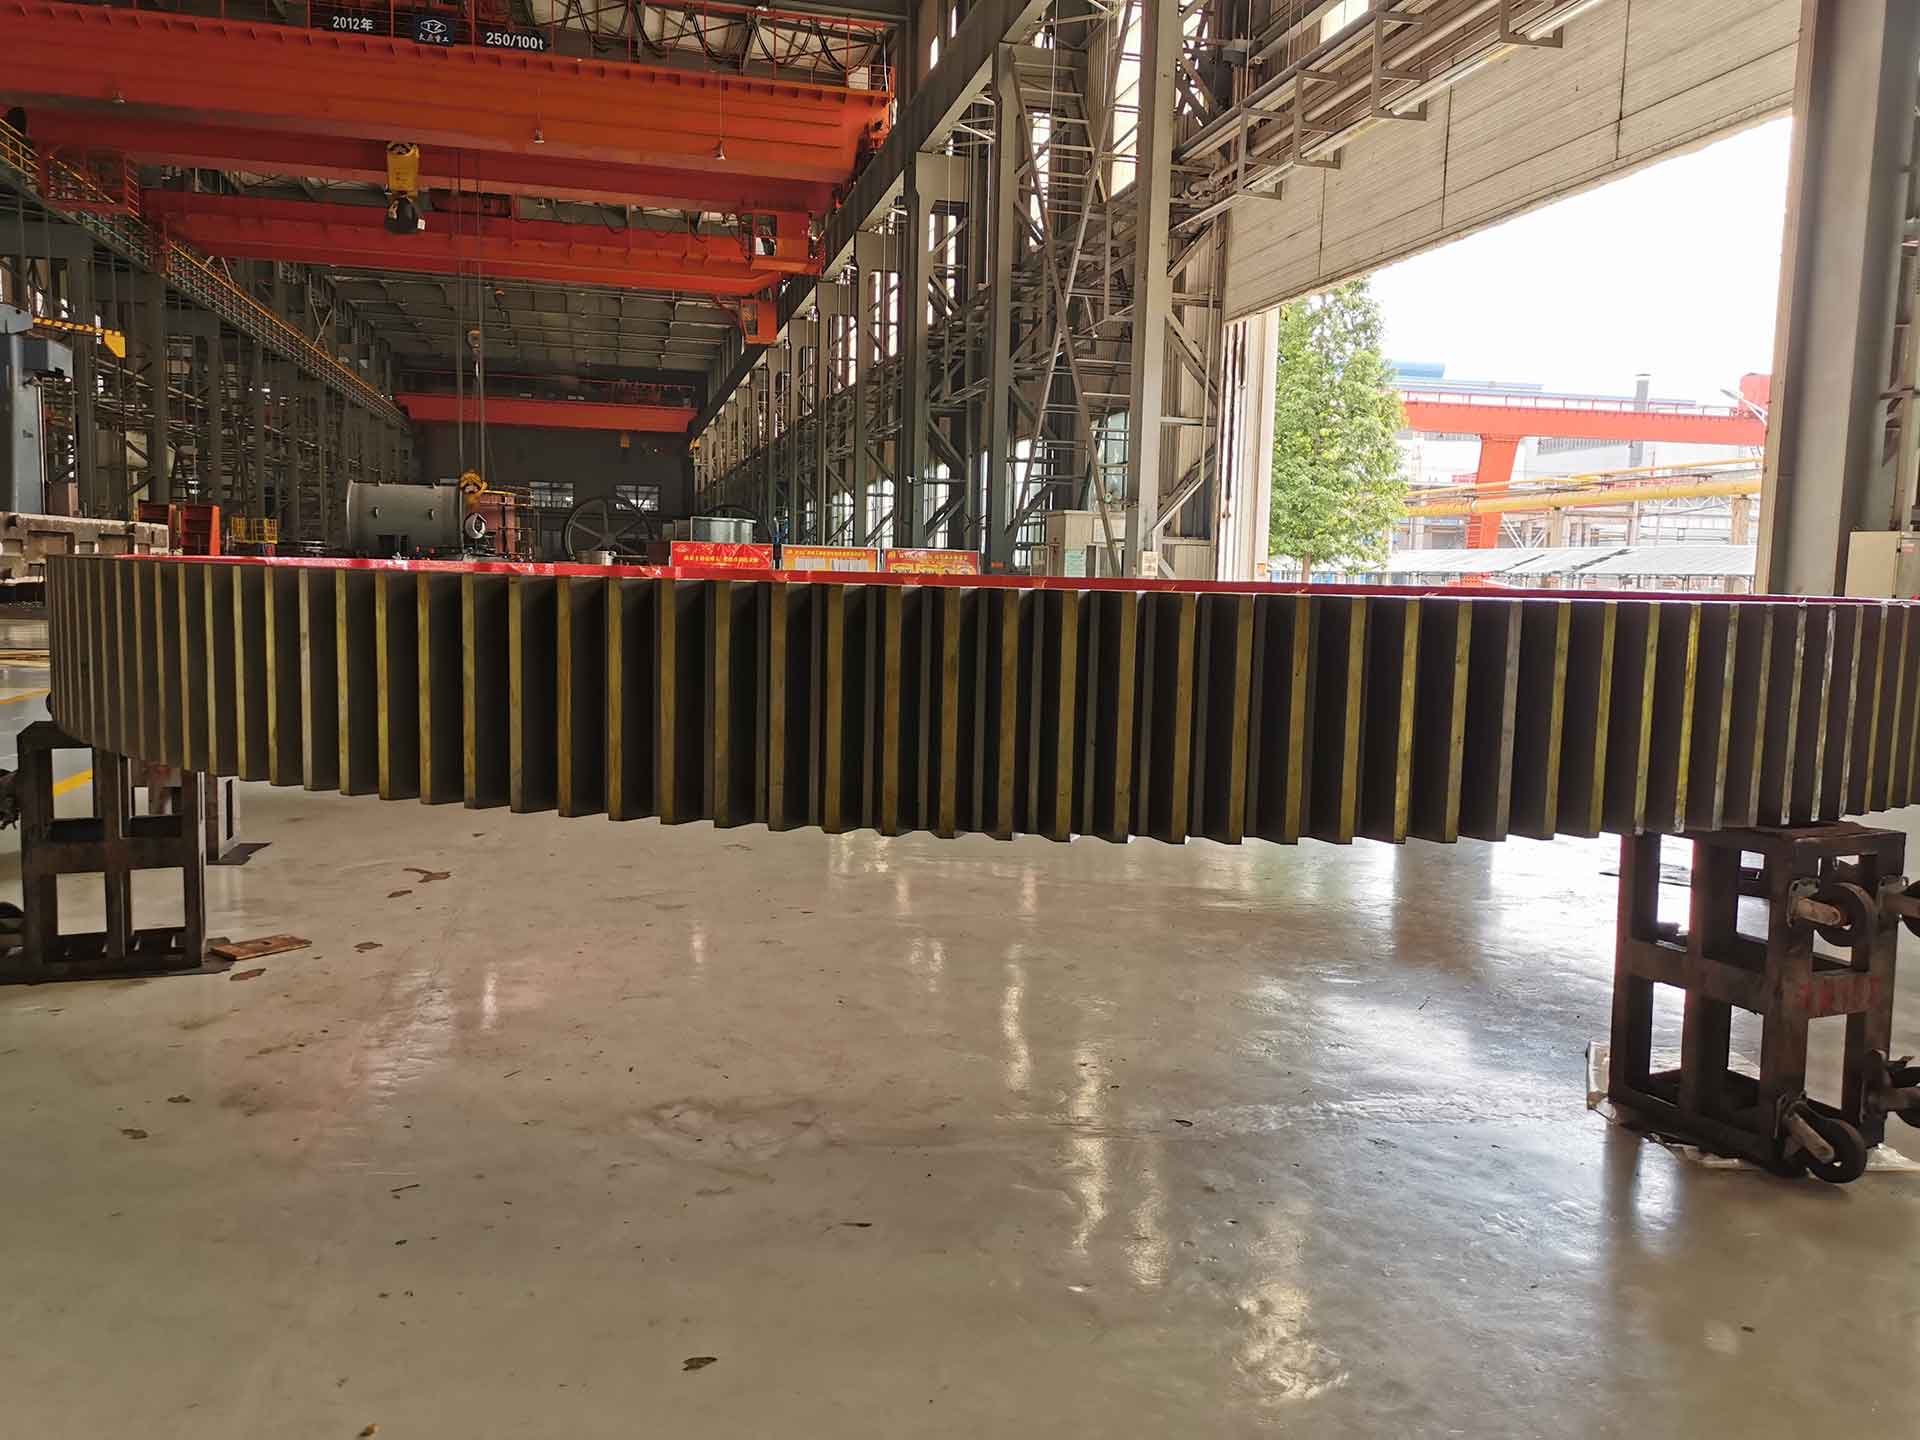
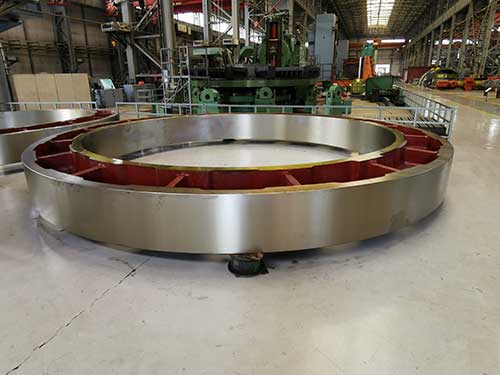
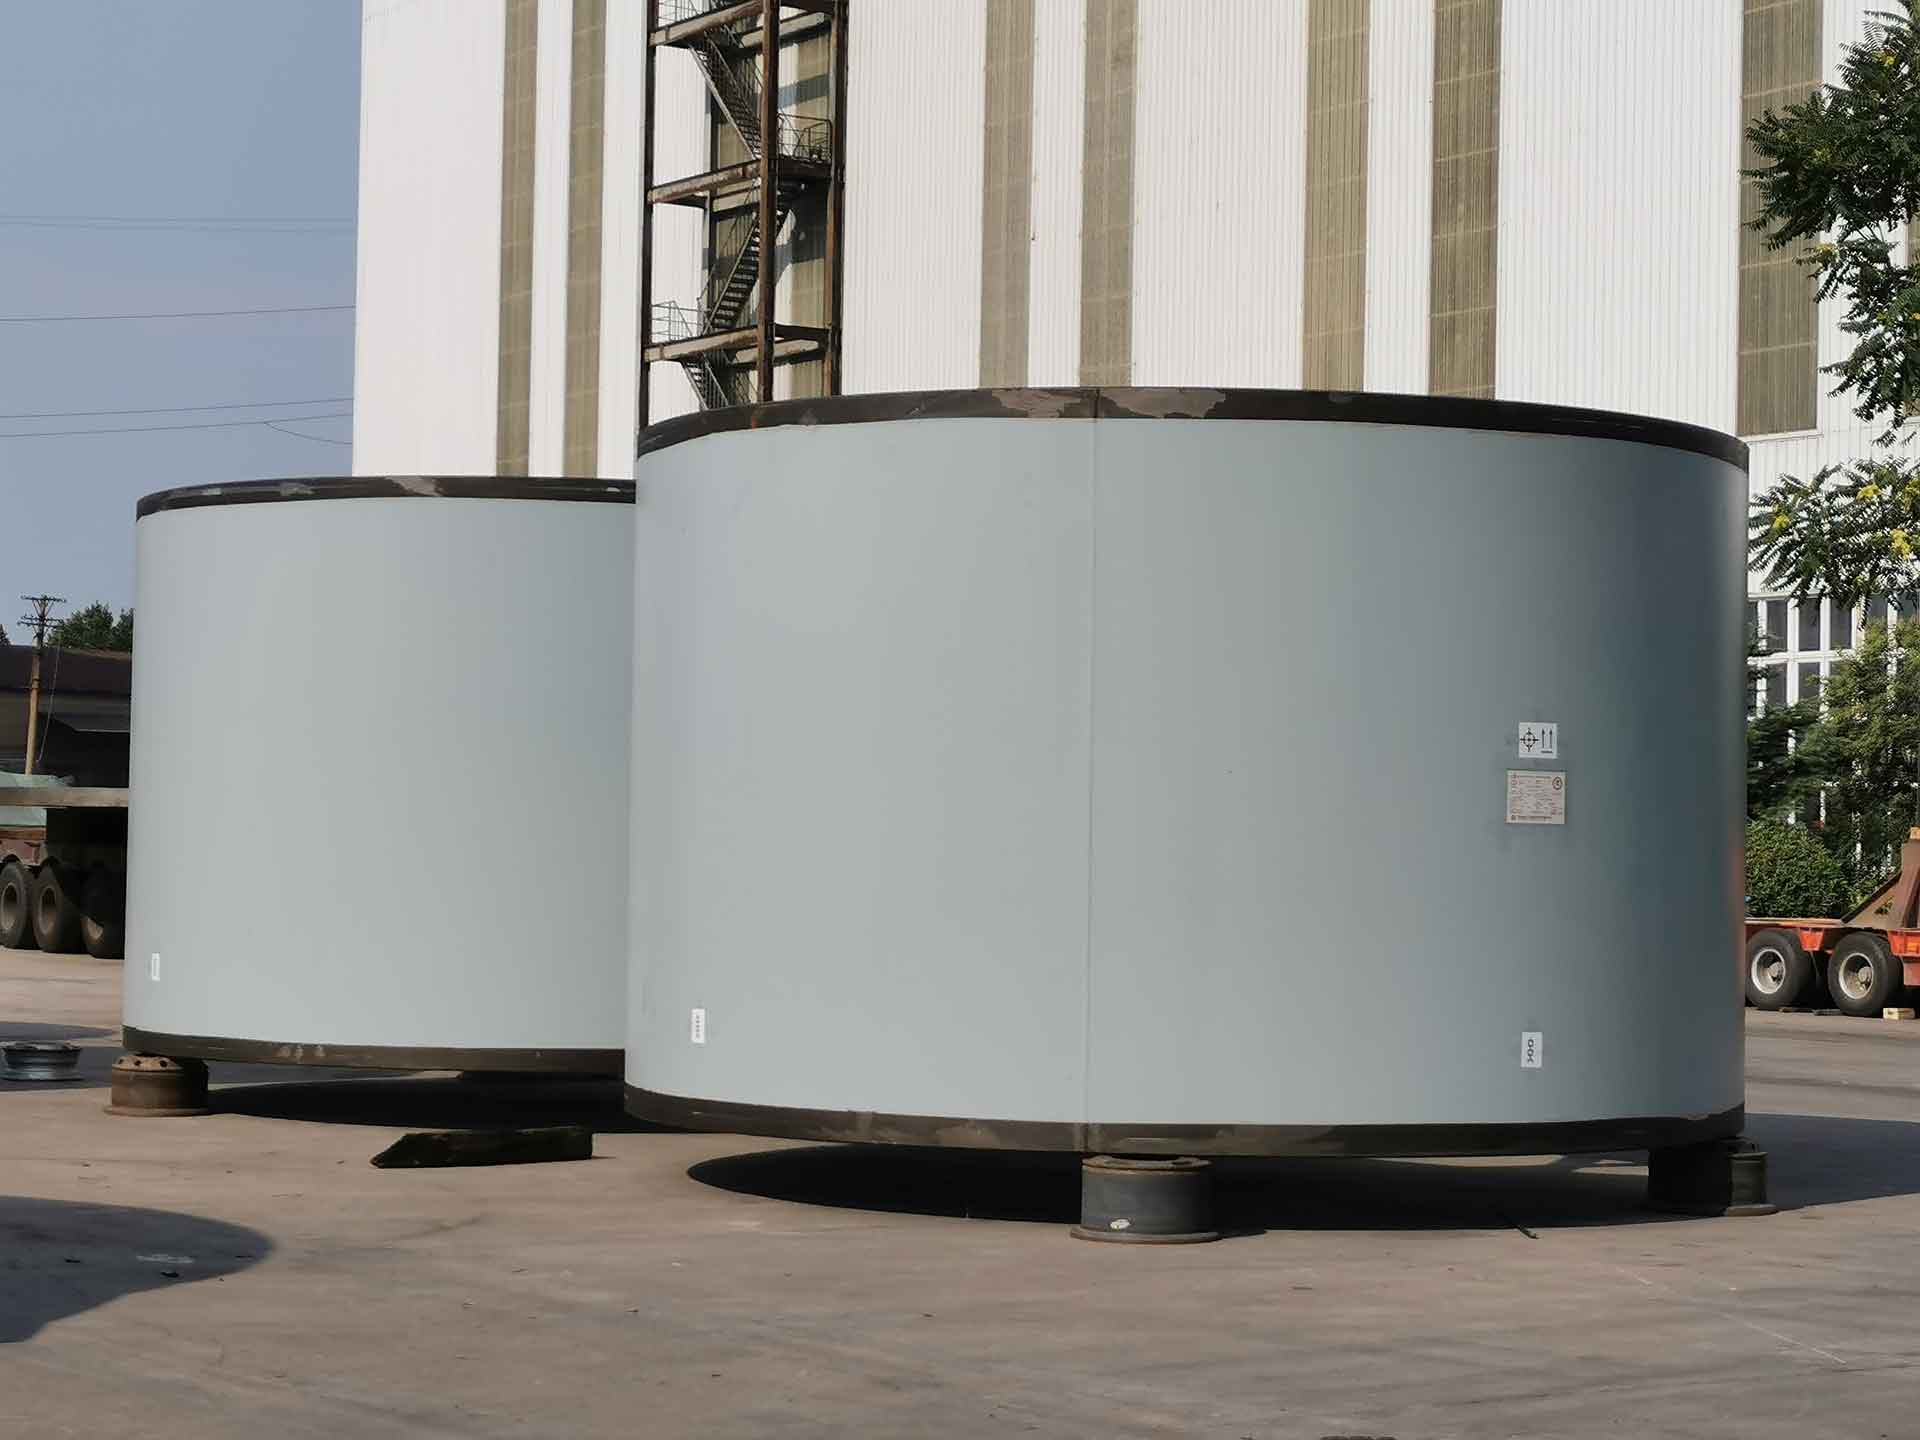
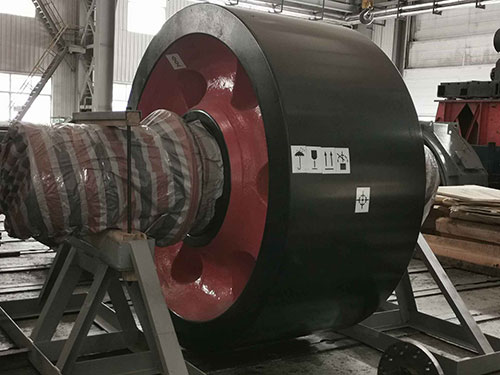
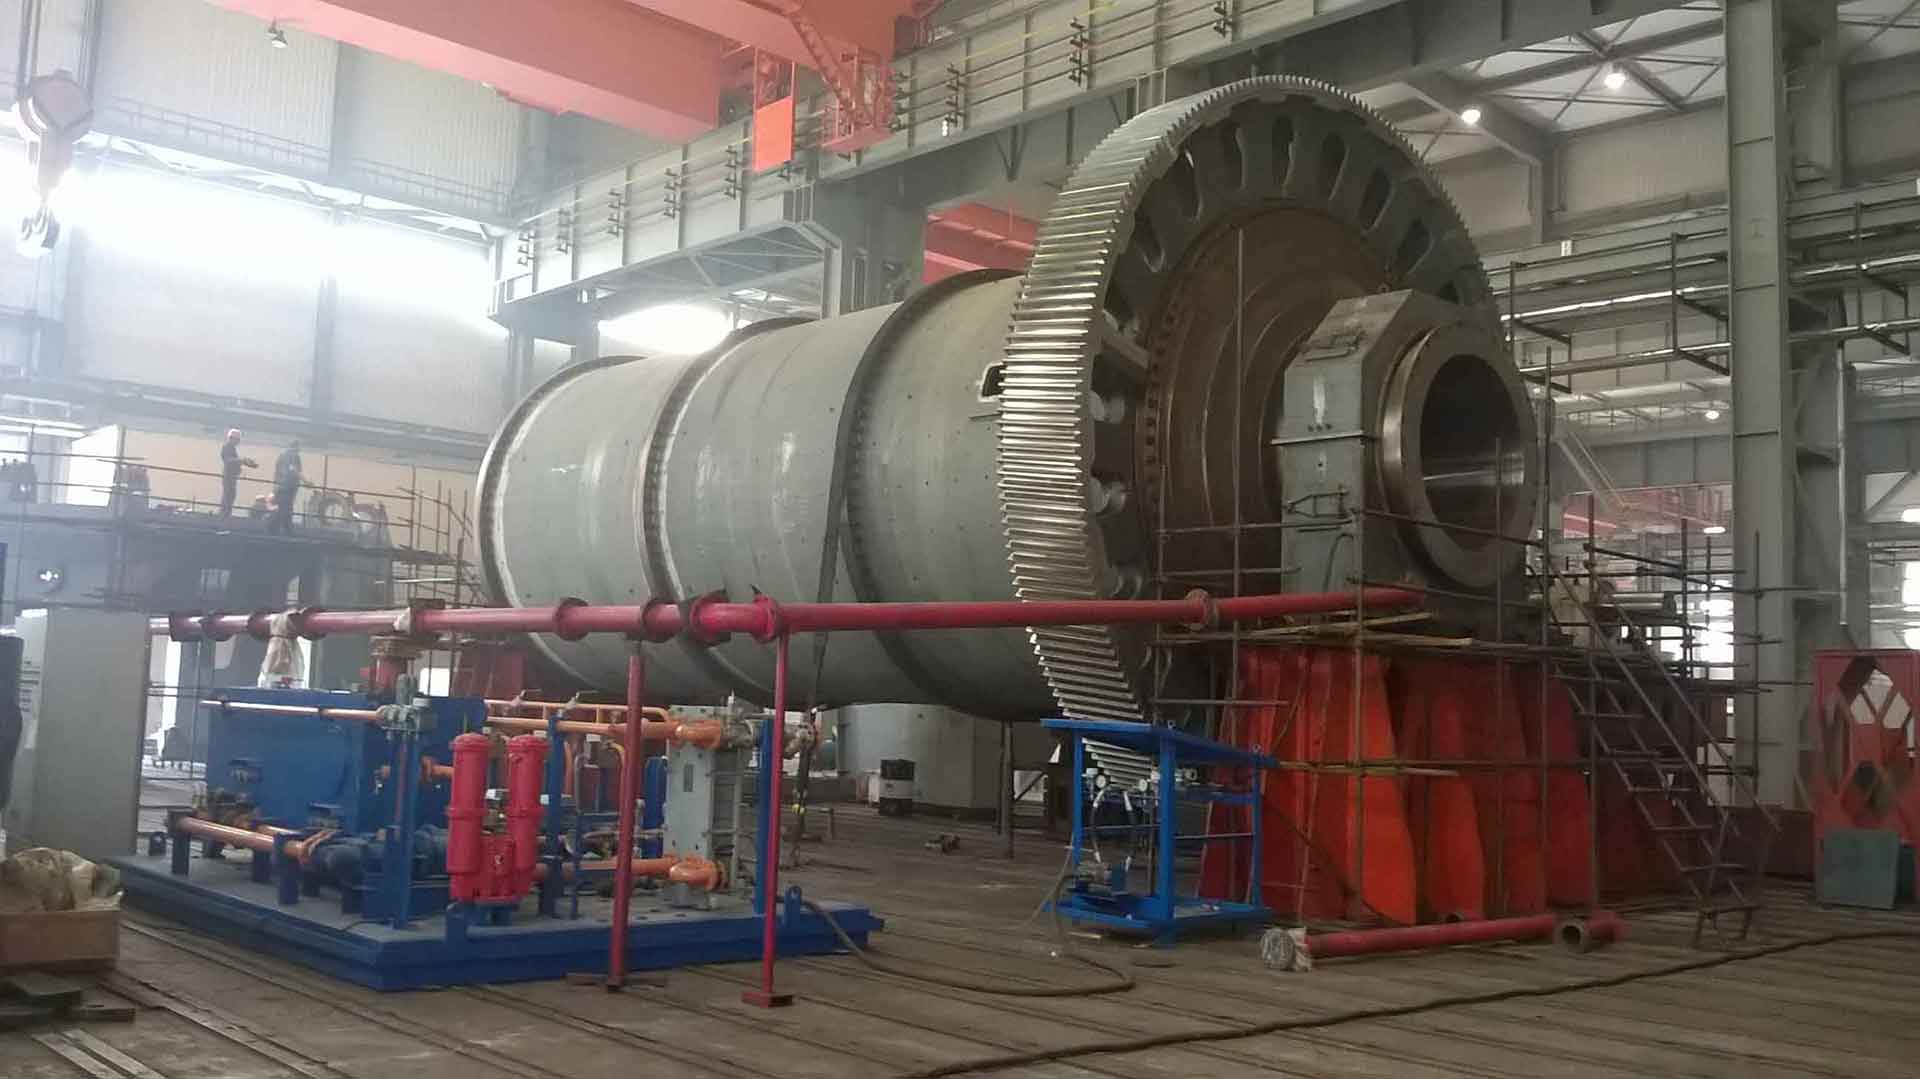
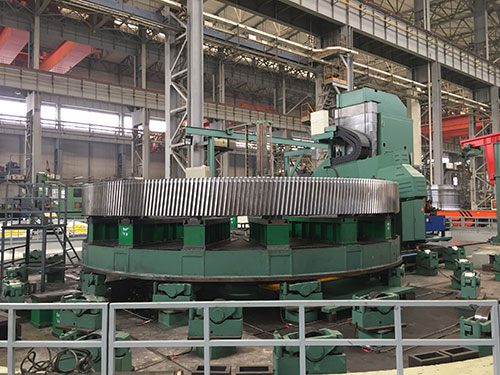
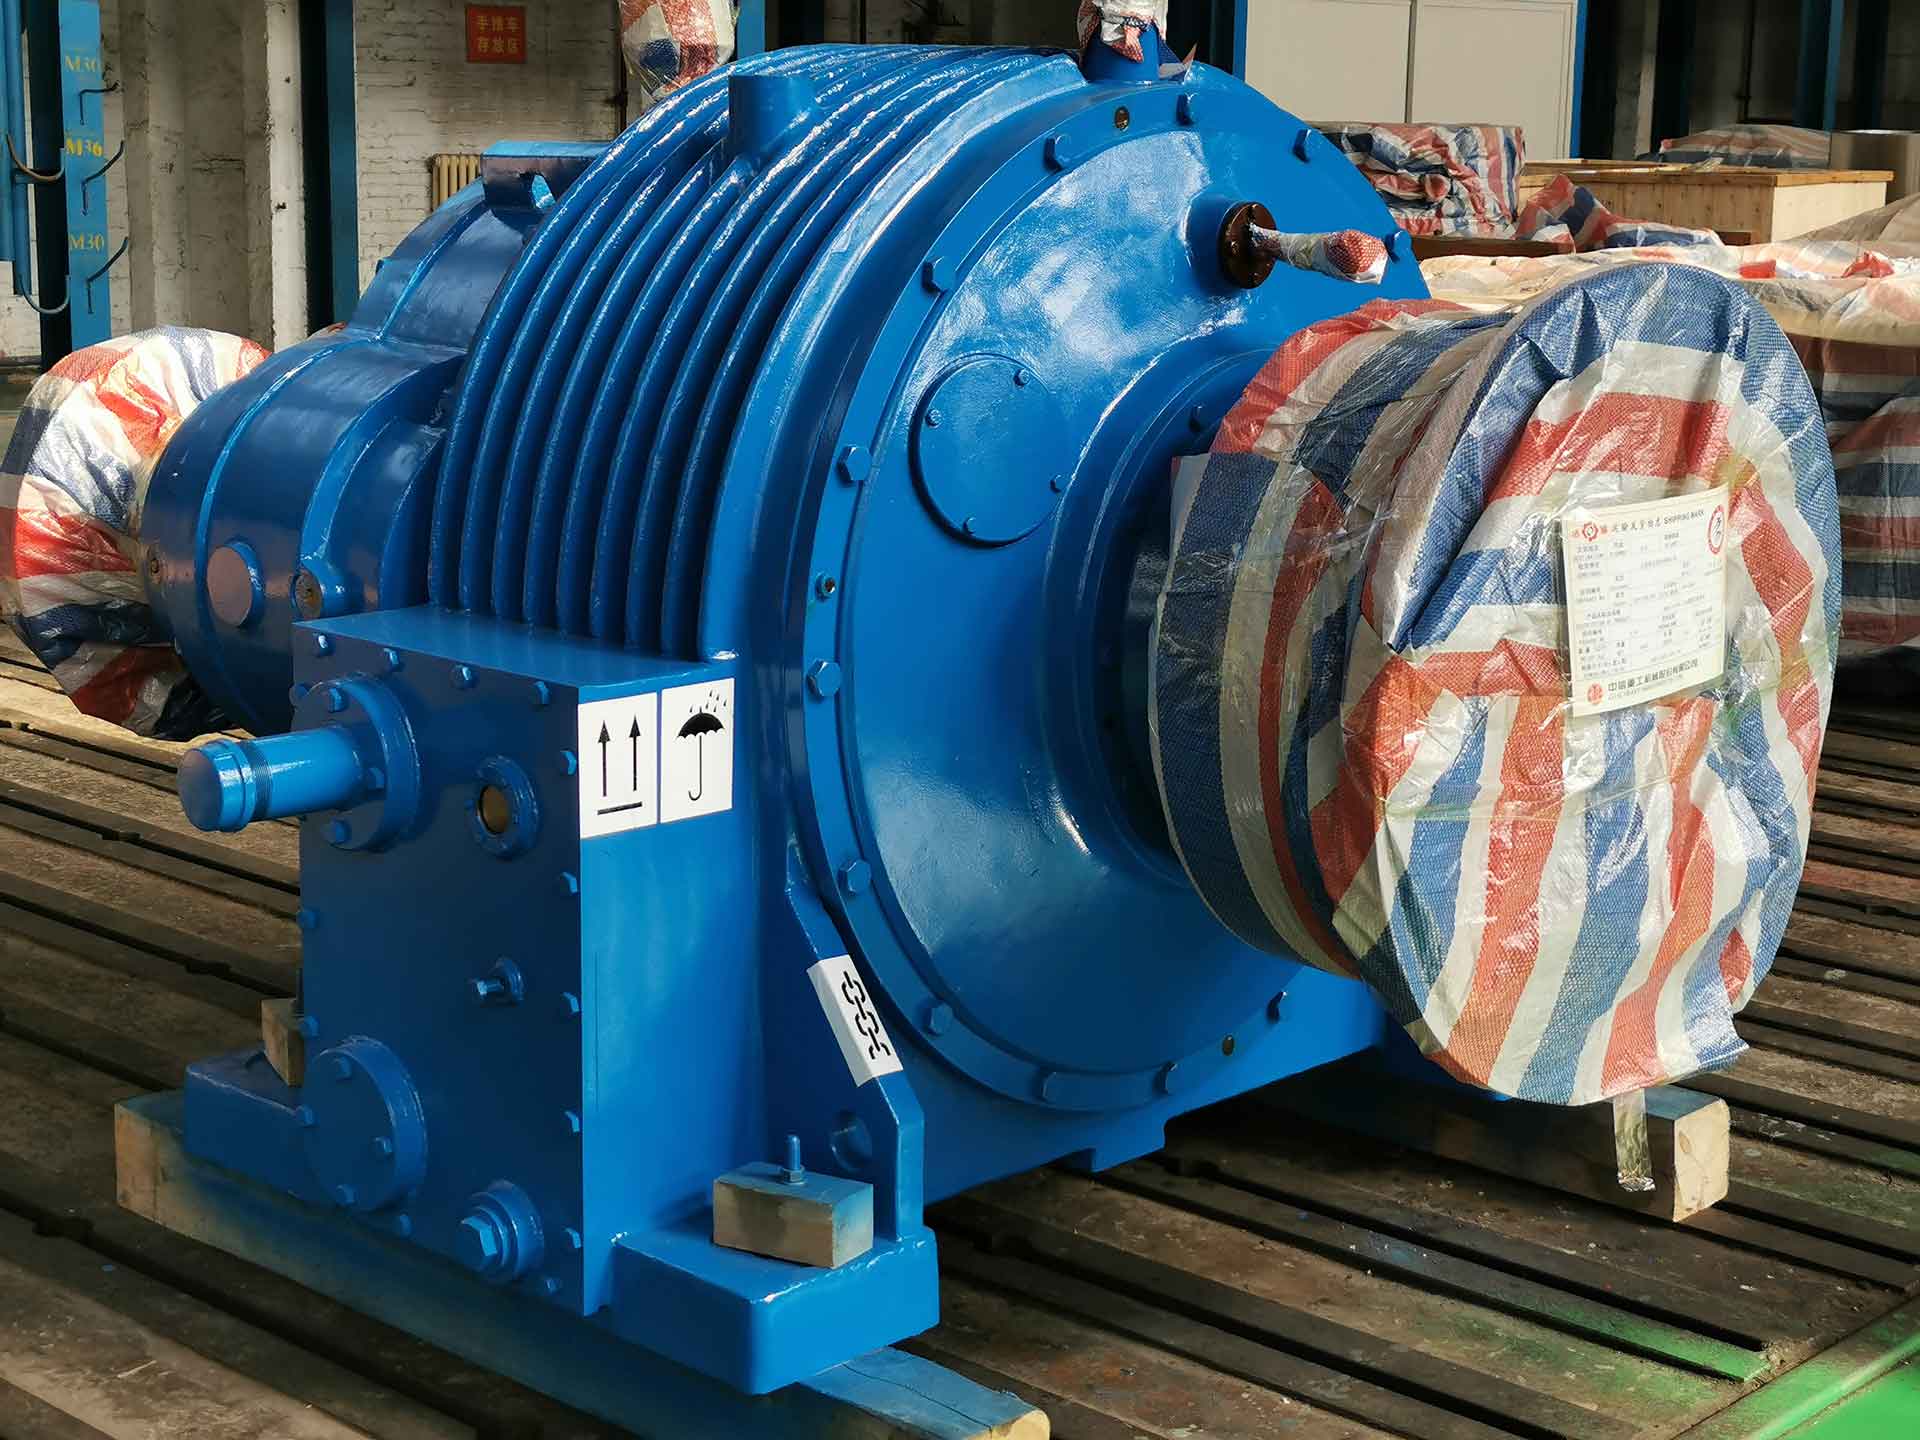
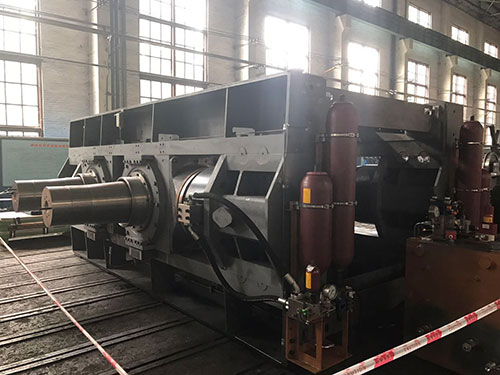
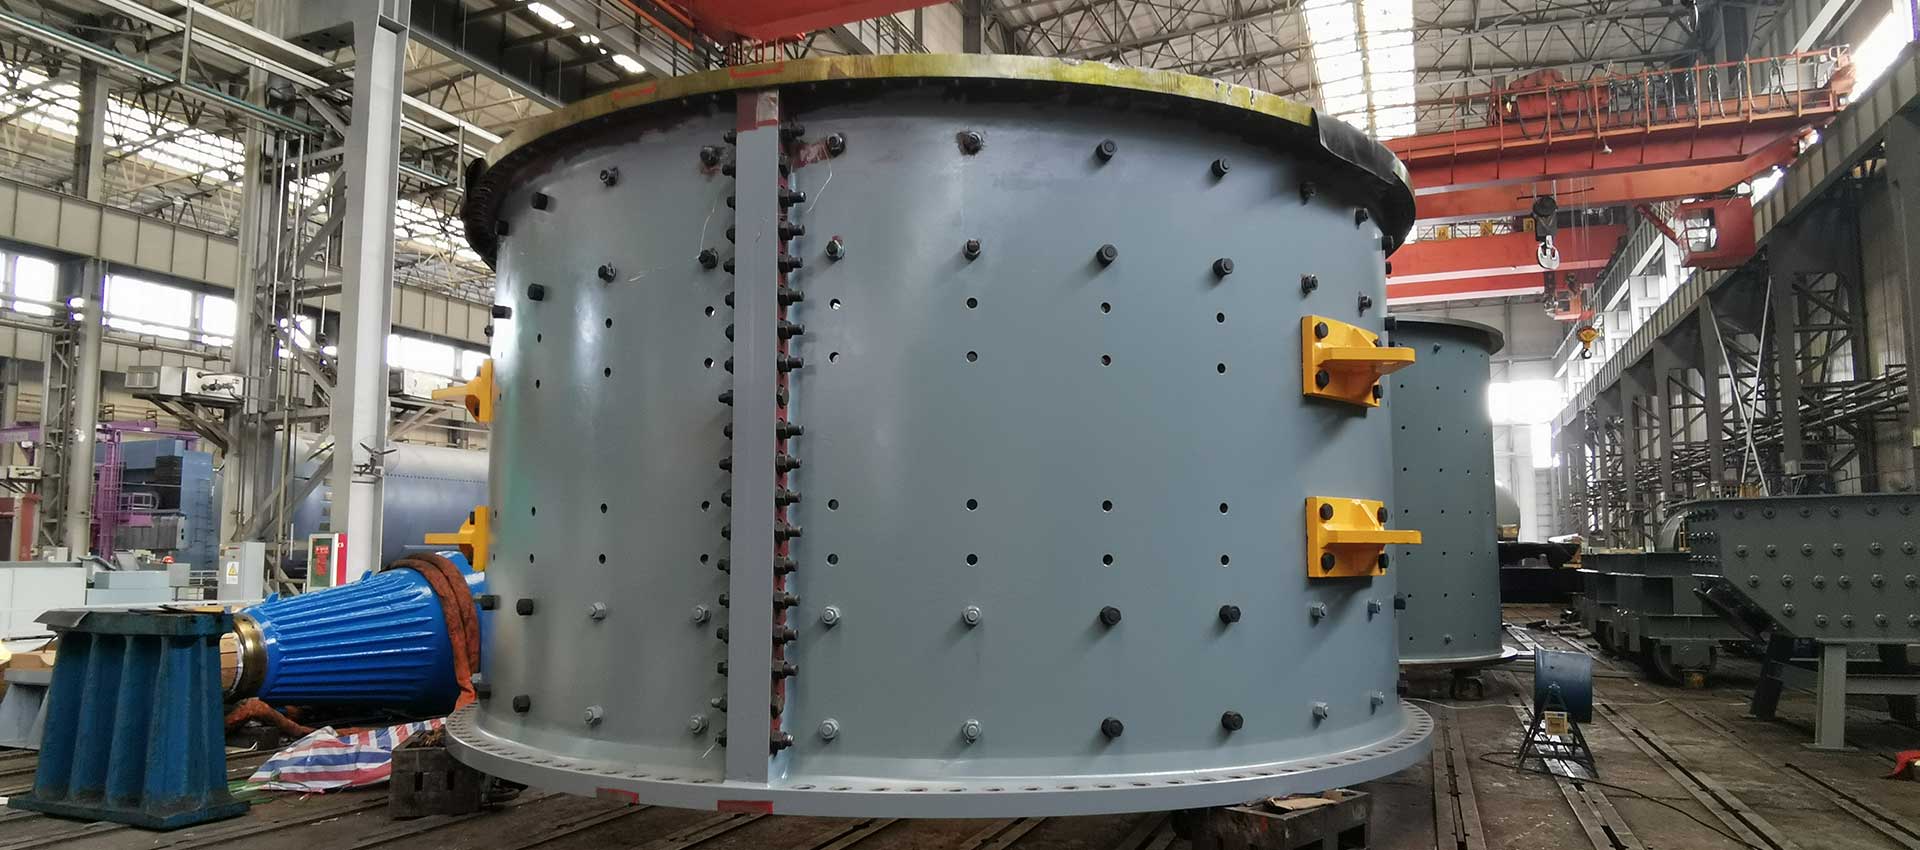
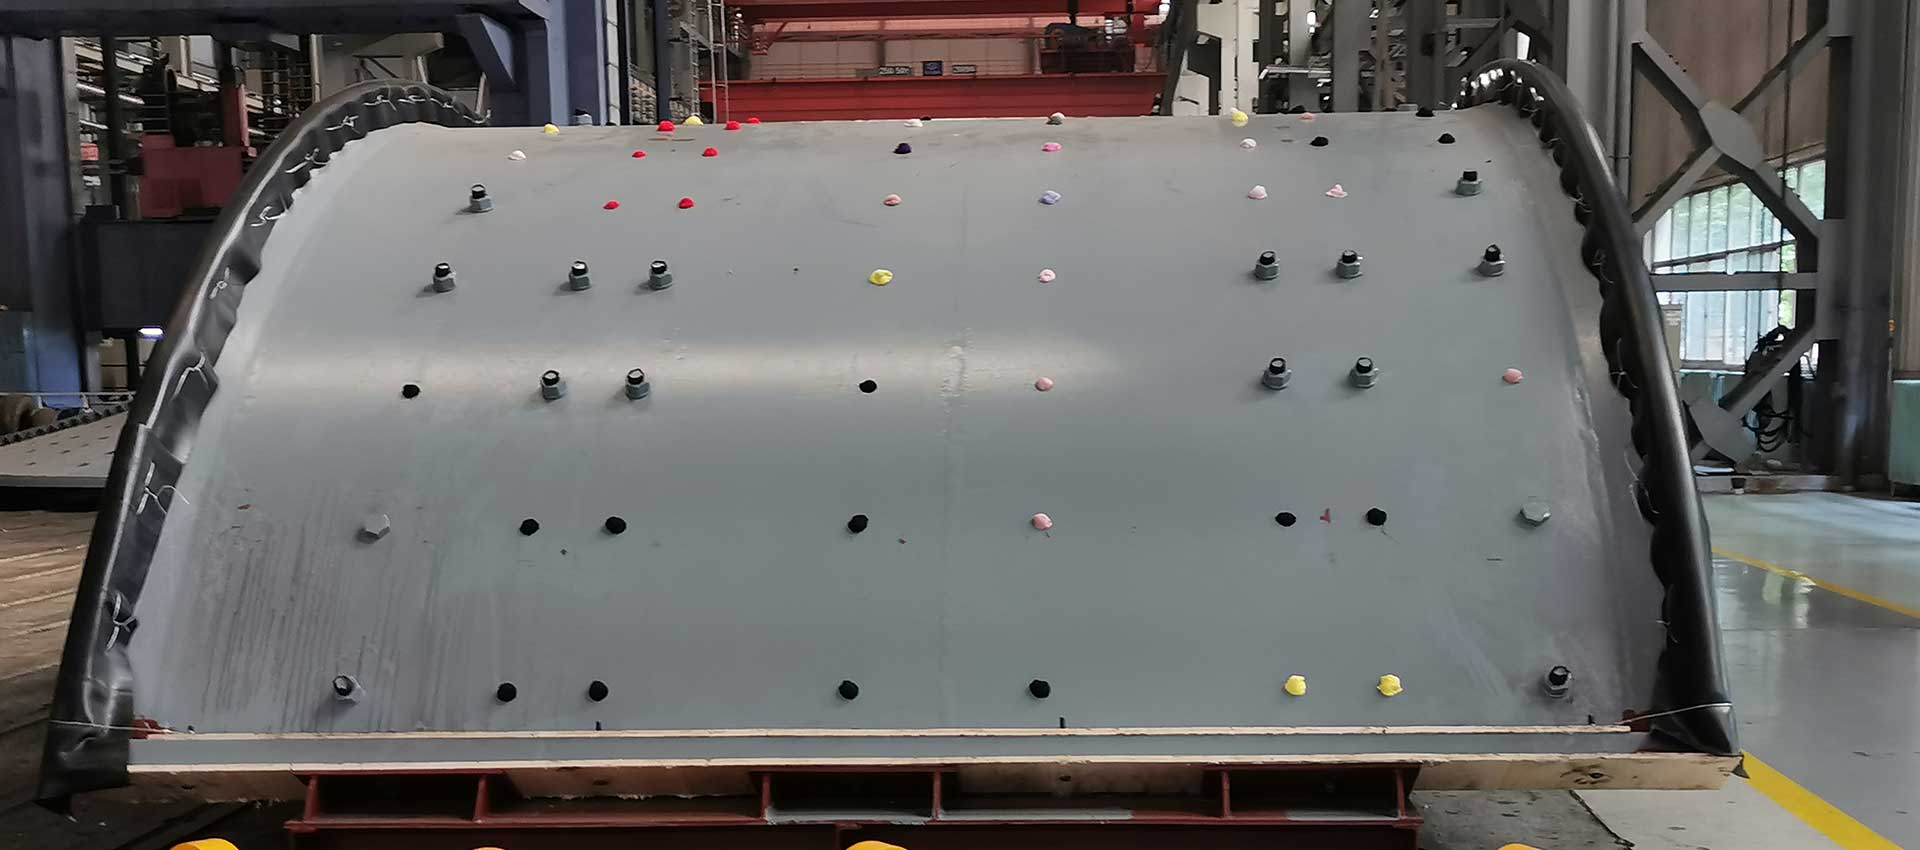
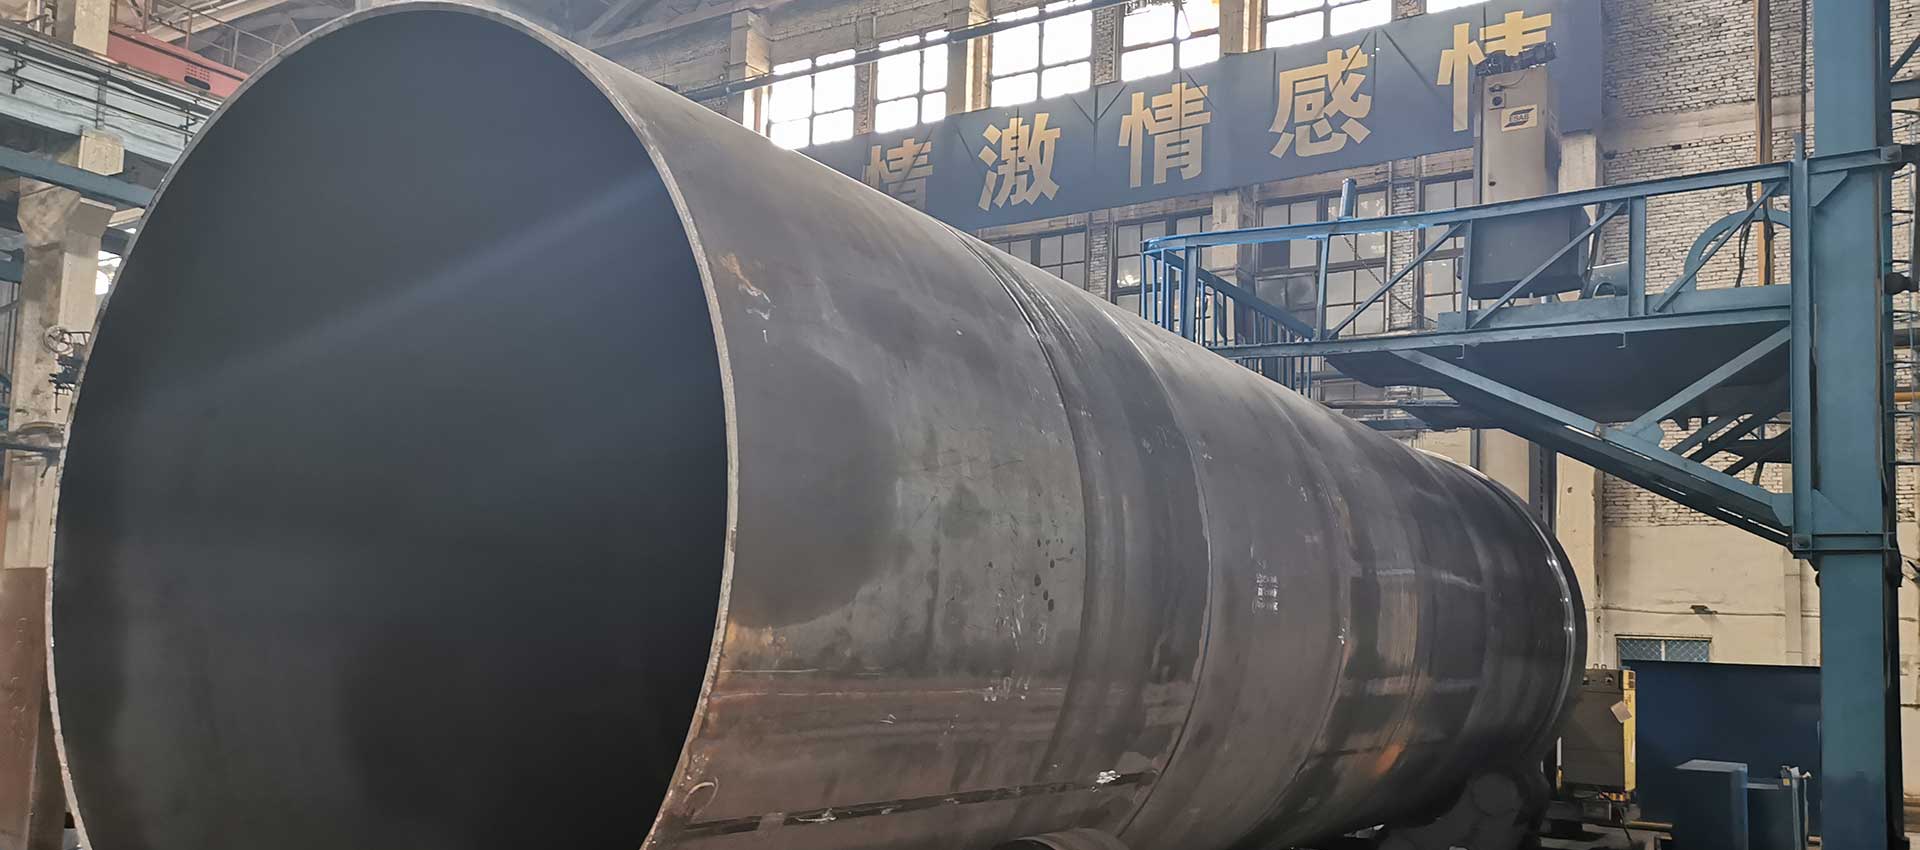
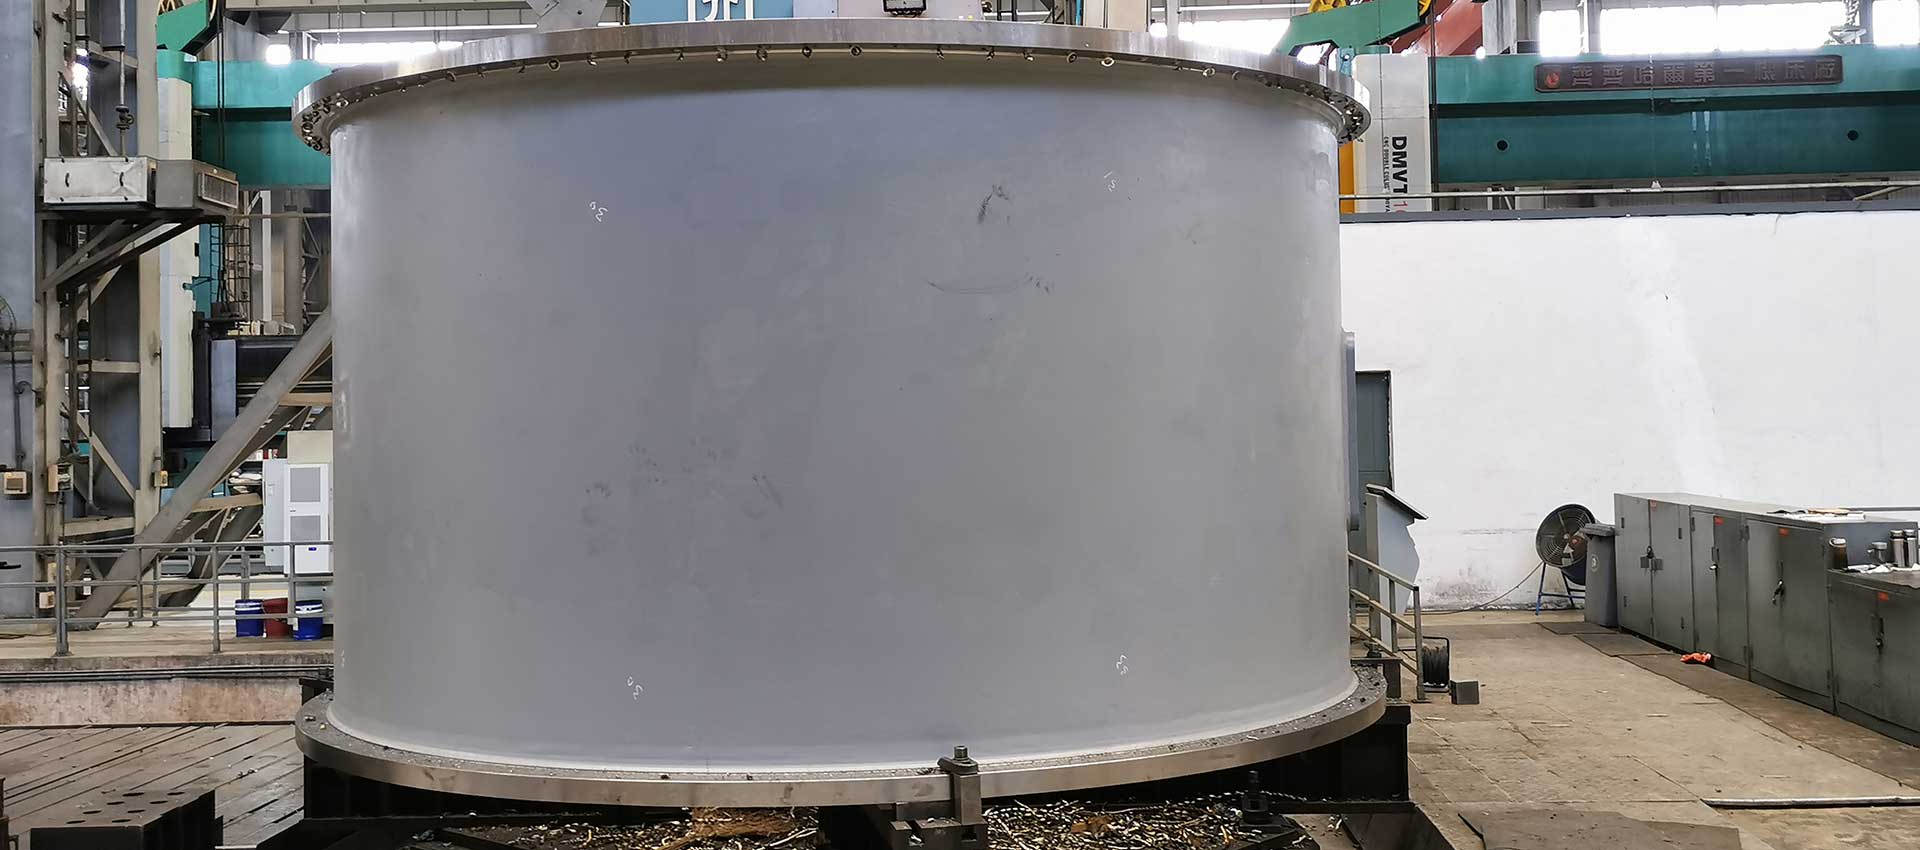
As the main parts of rotary equipment such as AG mill, SAG mill, Ball mill, Cement mill and Rod mill, shell plays a key role in the normal and smooth operation of the equipment. Material and welding technology are the key factors for the quality of mill shell. Therefore, our mill shell products are designed and manufactured according to the following standards, so as to ensure the superiority of product quality.
■ Chemical Composition (wt%) and Mechanical Properties of Forging Flange
◆The base metal of all grinding mill shelles shall be ASTM A36 steel or other equivalent materials. Flange materials may be made of castings, forgings or steel plates. If the flange material is made of castings, it should meet the requirements of standard Q1260.
◆If the flange material is made of forgings, in addition to meeting the requirements of ASMA266/A266M, the melting analysis, product analysis, chemical composition of the forgings and the mechanical properties of the forging bars shall conform to Table 1. If the flange material is made of steel plate, the chemical composition and tensile test performance of the steel plate shall , and the thickness direction property shall conform to the requirements of ASTMA70A770M-03 (2007).
◆The supplier shall provide test reports on the chemical composition and mechanical properties of the base metal. For shell materials, the reported results should conform to ASTM A36 standards and grades. The maximum carbon content should not exceed 0.30%. Other materials should meet this standard. In addition, the steel plate manufacturer shall carry out continuous ultrasonic inspection on the steel plate at a distance of 75 mm perpendicular to the rolling direction according to the corresponding standards, without the discontinuity of sheet or inclusion bundle or strip type as the quality grid. The corresponding standard refers to AS1710-2007. This code also divides the quality grade of steel plate. First, the steel plate should be choosed as grade 1. Alternative standard ASIM A578 "Standard Specification for Ultrasound Inspection of Special Purpose Steel Plate Longitudinal Wave Straight Probe" can also be used. If shell flanges are steel castings, their casting shall be carried out in accordance with ASTM A216-07, including relevant inspection and repair.
◆The surface and edge to be welded should be uniform and smooth, and the surface should be free of cracks, looseness, corrosion, slag, grease and other defects leading to the reduction of welding quality and strength. No paint or other substances that affect normal welding or lead to harmful gases should be found within 145 m from the surface of the welded joint. Remove oxide skin from all weld surfaces. In the process of thermal cutting (arc cutting and oxygen cutting), adjust the equipment and use mechanical method to guide, so as to avoid cutting beyond the line. Processing procedures must ensure smooth surface, no cracks and notches, and correct contours. Artificial thermal cutting can not be used without the approval of the technical department or the owner's representative. Hot cutting roughness can not exceed the ANsI value. The surface roughness of materials with thickness of 100 m m is 25 micron, and that of materials with thickness of 200 m is 50 to M. The roughness above these values and the chisel marks with a depth of more than 5 m on the unsatisfactory surface should be removed by processing or grinding.

