 |
 |
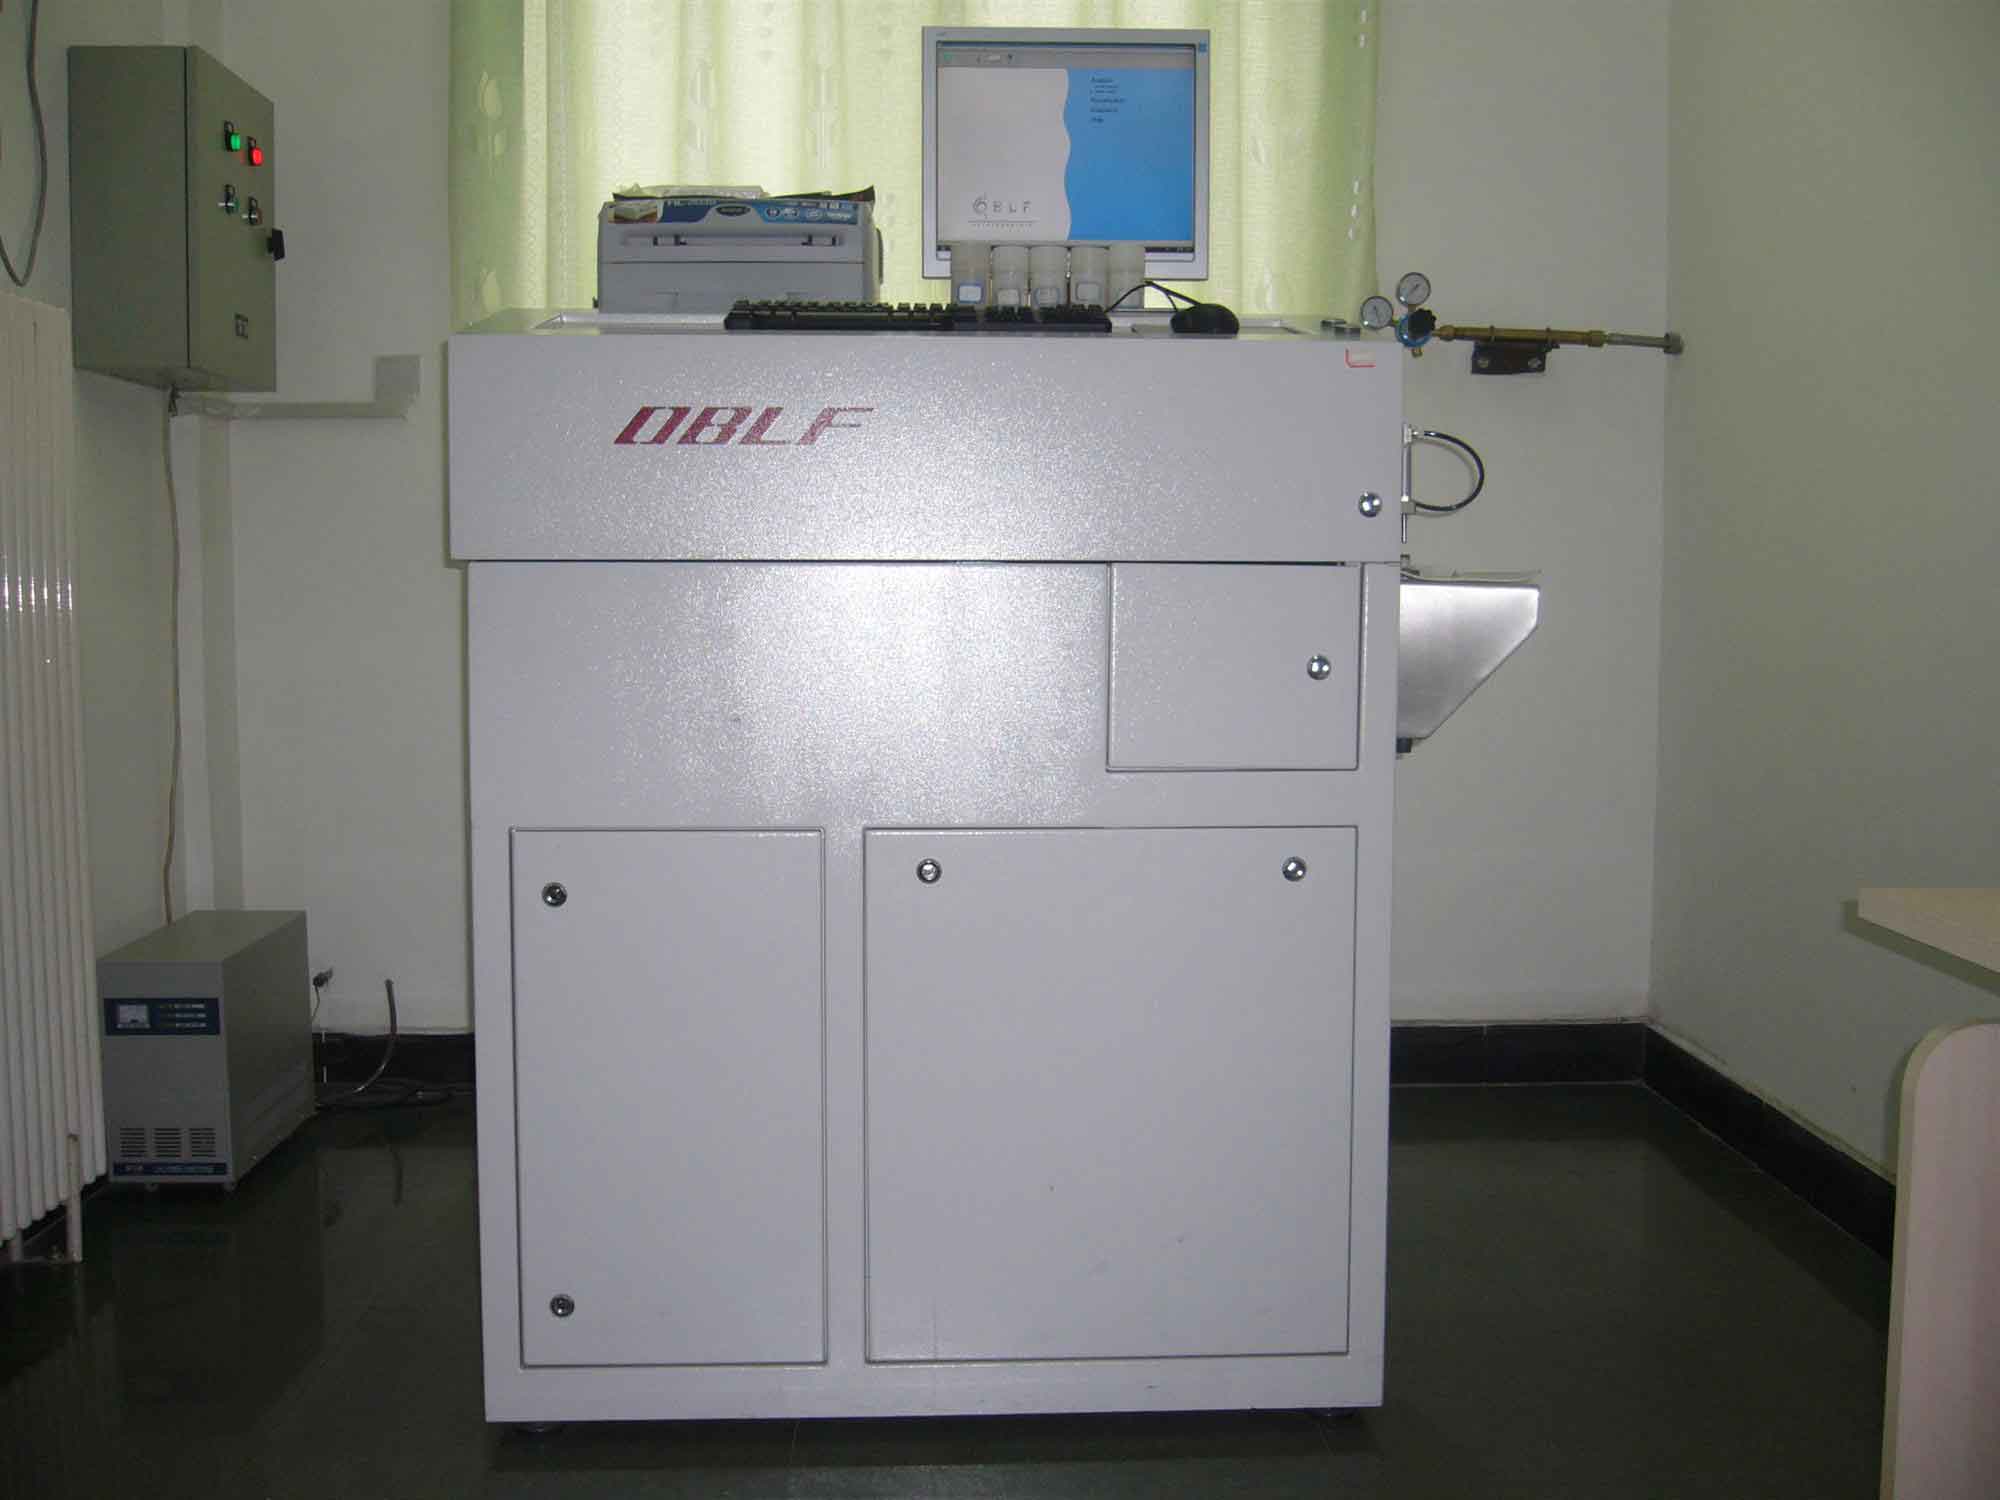
| 1.Direct Reading 1.Direct Reading Spectrometer |
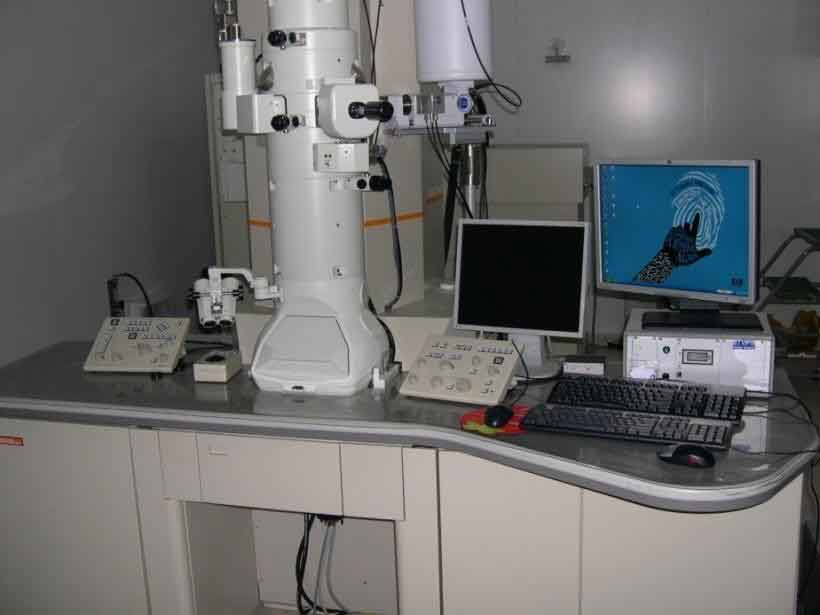
2.H-800 transmission electron microscope |
 |
 |
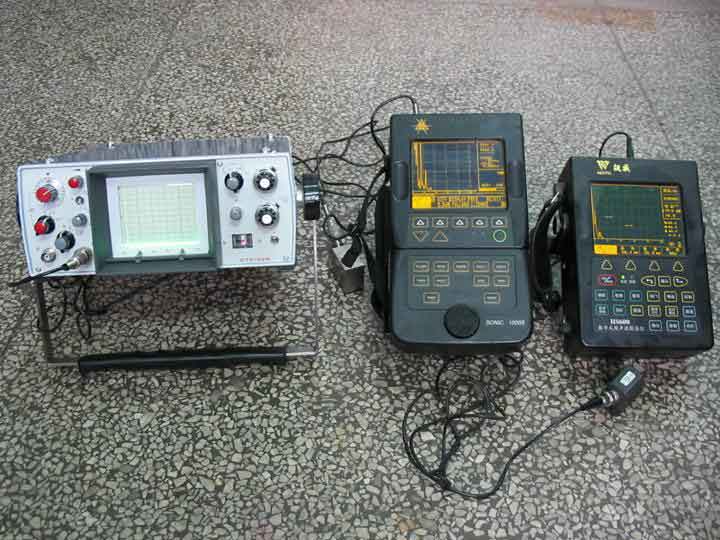
| 3.Ultrasonic flaw detector |
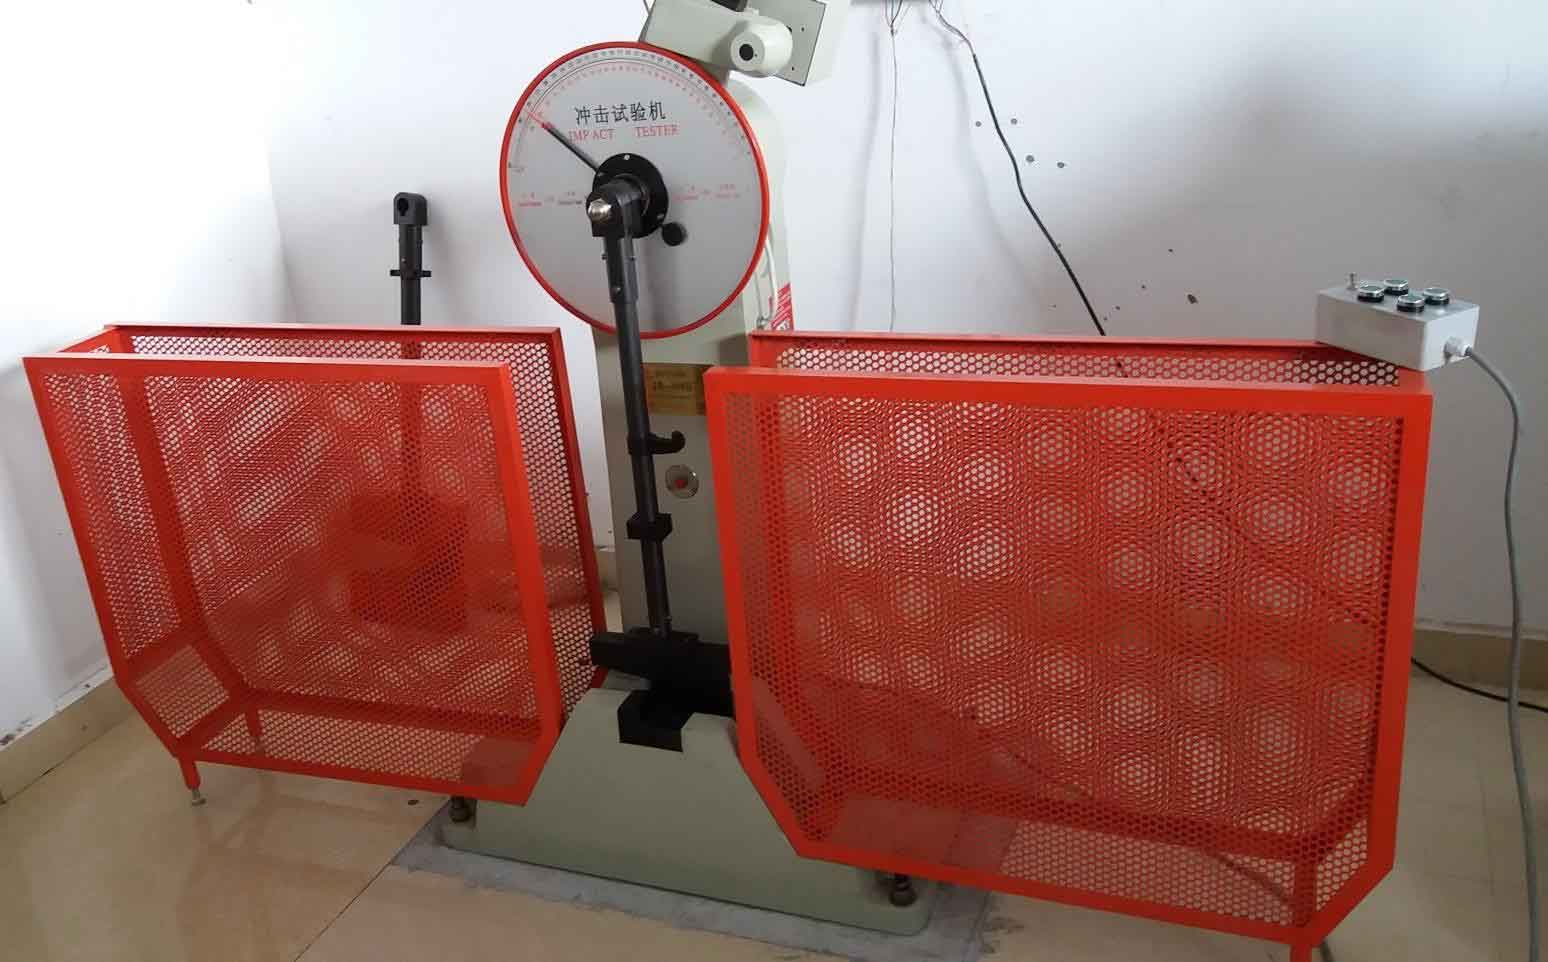
4.Impact testing machine |
The manufacturing process of the grinding mill girth gear mainly includes blank casting, roughing, heat treatment, semi-finishing, and finishing. The process is complicated and there are many inspection items and links. The inspection of size, temperature and chemistry components and mechanical properties during casting and heat treatment etc, has a separate ITP control plan. The main tests of girth gear include:
■ Dimensional inspection
◆Inner hole size, Inner stop size, Tip circle size, Tooth width, Tooth depth h、tooth thickness (at reference circle)s。
■ Chemical/composition/mechanicalproperties/metallographic inspection
◆ The chemical composition Detection of single-cast samples, bulk samples and mechanical properties of samples.
◆ After the heat treatment, mechanical properties such as yield strength, tensile strength, elongation and hardness were tested of the samples.
◆ The metallographic phase of the sample is examined by using the optical microscope or the electron microscope, By comparing the microstructure to determine whether it is an ideal organization.
■ UT/MT inspection
◆ The UT and MT inspection are carried out after the roughing of the casting, if we find any problem is found, we need to weld and repair in time.
◆ The UT detection is carried out after the semi-finishing of the girth gear.
◆ MT inspection is carried out after fine-hobbing.
■ Accuracy inspection
◆ According to the technical parameters of the girth gear, the modulus, the accuracy level, the pressure angle, the number of teeth, the direction of rotation, the allowable pitch deviation value is determined, measuring the actual pitch deviation fpt; measuring the total deviation Fp of the pitch.
◆ Detecting the both end surface roughness Ra; the tooth surface roughness Ra; the tooth top circle roughness Ra; the perpendicularity of the two ends facing the reference; the parallelism of the two ends facing the reference;The above test contents are finally aggregated into a report and transmitted to the user.

